Site
Home / Forum / General Discussion / Tutorial: discart
Home / Forum / General Discussion / Tutorial: discart
Tutorial: discart |
| Posted: 19 Jul 2021 12:20 | |||
Posts: 25 Joined: 2020-12-05 | Hi, some more bla from me, because i see a lot of dodgy disc art on here. This requires some PhotoShop skills. Image sources: 1.) Scan the CD yourself 2.) https://musicbrainz.org/ Click on the album you have ► "Cover Art" ► Types [click on original for highest quality] 3.) https://www.discogs.com/ Last resort, since a lot of images there are not scans, low quality and max 600 x 600 px 4.) CD image sites. There used to be many, but now there aren't many left - http://coveralia.com has some --- 1.) Scanning Software: scan app, free ► Win store: https://www.microsoft.com/en-us/p/windows-scan/9wzdncrfj3pv Use a high DPI (1200) and scan as TIFF or PNG. In PhotoShop, resize to 300 DPI, 1000 x 1000 px Clean up the image (e.g. Spot Healing Brush Tool, adjust colours/contrast, blurr large colour surfaces) Again, fanart.tv has a great tutorial here: https://fanart.tv/tutorials/create-a-cdart-with-photoshop/ Use their cdart-template-master.psd to create a transparent png, size 1000 x 1000 px. Only do this if you know what you're doing. If you have issues with moiré effect from scans: PhotoShop ► Filter ► Convert to SmartFilter Play around with these settings to decrease the moiré effect without softening/blurring the image too much:  If your png is too large (~ above 900 kb), resize it here: https://compresspng.com/ Questions? Ask away. 👍 zag | ||
| Posted: 19 Jul 2021 14:24 | |||
Posts: 25 Joined: 2020-12-05 | using the above methods, i turned this 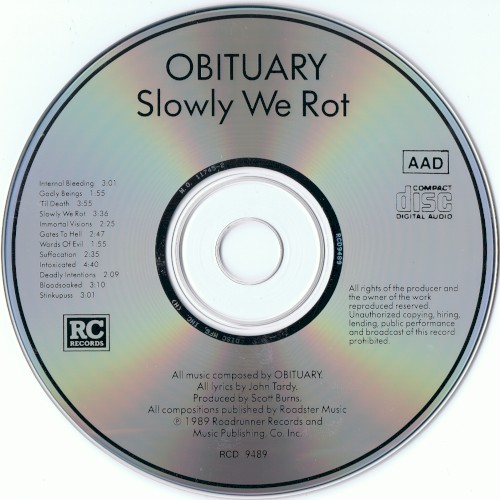 [1903x1903 px, 4,49 mb] into this 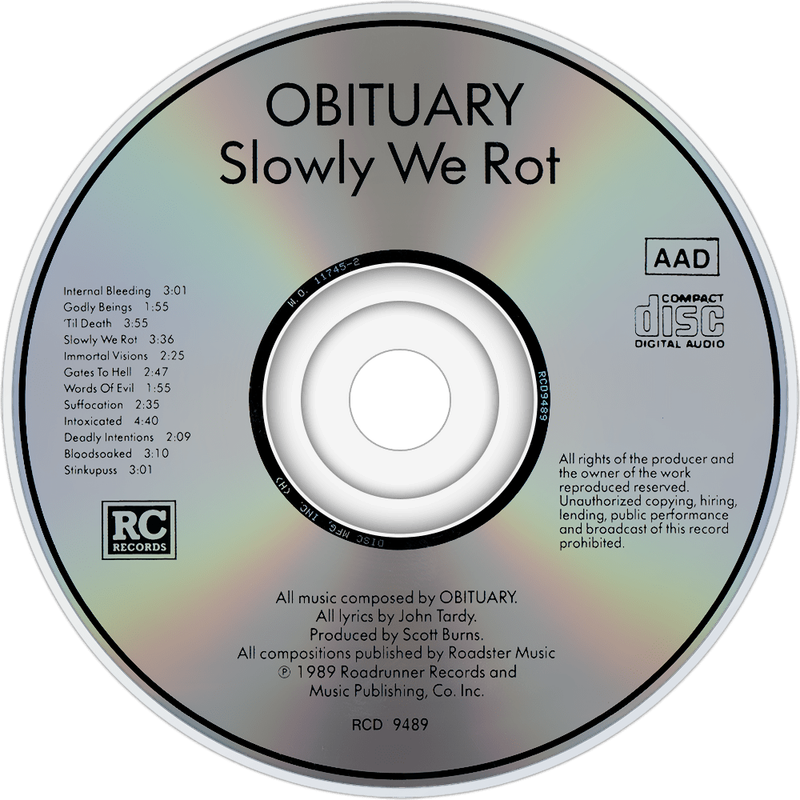 [1000x1000 px, 260 kb] | ||